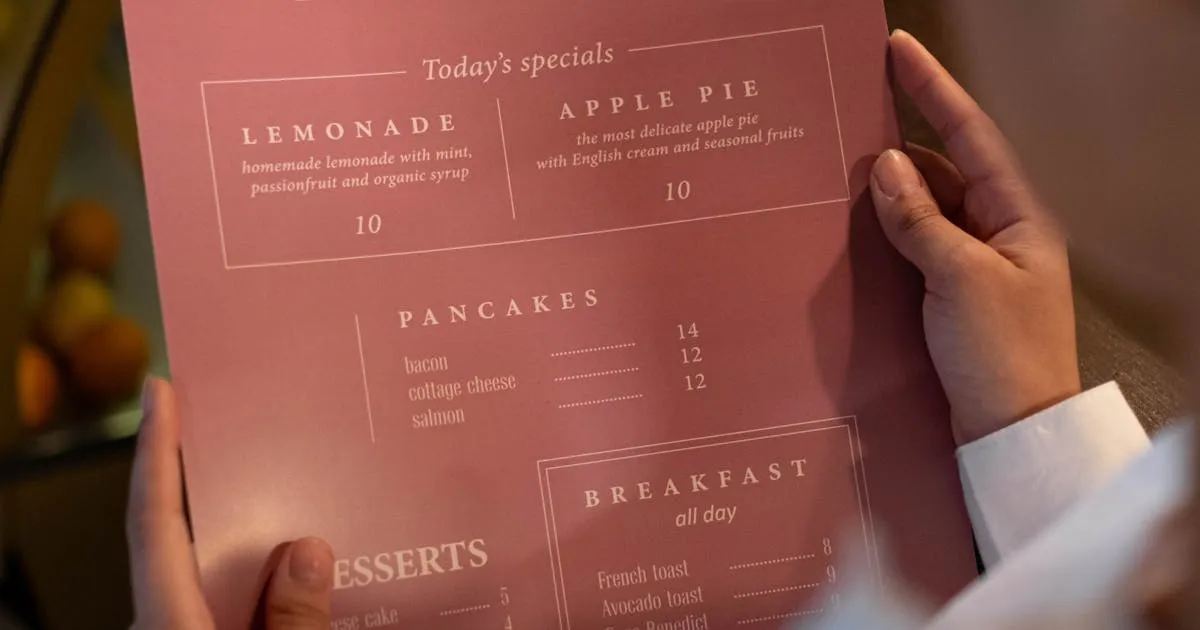
You've created your digital menu. You have the QR code. Now the question is: how do you actually put it on your tables so customers use it?
The physical placement of your QR code matters more than most restaurants realize. A code that's too small, poorly positioned, or printed on a reflective surface will be ignored — and your investment in a digital menu goes to waste. Toast's research shows that 78% of diners are comfortable with QR code menus, but that comfort disappears when the scan fails or the experience is frustrating.
This guide covers exactly how to print, place, and optimize QR codes for restaurant tables — including the specific materials, sizes, and placements that work best. No design skills or special equipment needed.
There are five main ways to display QR codes at tables. Each has trade-offs in cost, durability, and aesthetics:
1. Table Tent Cards
A folded card that stands upright on the table — the most popular option. Print your QR code on heavy cardstock (300gsm+) or get them professionally printed with a matte lamination. Cost: $0.50–$2 per card for a print run of 50+.
Best for: Casual dining, family restaurants, pizzerias. Easy to replace and update.
2. Table Stickers
Adhesive labels stuck directly to the table surface or table number stand. Waterproof vinyl stickers last months without peeling. Cost: $0.30–$1 per sticker in bulk.
Best for: Cafés, bars, food courts. Low profile, can't be knocked over, and survives spills.
3. Acrylic Stands
A reusable clear acrylic holder that displays a printed card. More professional-looking than a paper tent card, and the insert can be swapped without replacing the stand. Cost: $2–$5 per stand (reusable), plus $0.10–$0.30 per insert.
Best for: Fine dining, upscale casual. Clean, professional appearance that matches premium décor.
4. Table Number + QR Combo
If your restaurant uses table numbers, combine them: a single card or stand with the table number on one side and the QR code on the other. This saves table space and gives every number a purpose.
Best for: Any sit-down restaurant. Reduces table clutter from two separate items to one.
5. Counter Displays
For counter-service restaurants and cafés, a larger QR display (A5 or A6 size) at the order counter or register. Customers scan while waiting in line. Cost: $1–$3 per display.
Best for: Coffee shops, fast casual, food trucks. See our complete café setup guide for more counter-specific tips.
Getting the print specs right prevents scanning failures. Here are the numbers that matter:
Size
- Minimum QR code size: 2×2 cm (0.8×0.8 inches) — but this is the bare minimum. For restaurant tables, 3×3 cm to 5×5 cm is ideal
- Quiet zone: A white border around the QR code at least 4 modules wide. Without this, phone cameras may not recognize the code
- Card size: For table tents, A6 (4.1×5.8 inches) or custom 3.5×5 inches works well. Large enough to include the QR code, a brief instruction, and your logo
Contrast and Color
- Dark code on light background — black on white is most reliable. Never reverse it (white code on dark background)
- Minimum contrast ratio: 4:1. Colored QR codes can work (dark green, navy, dark red on white) but always test scannability before printing 50 copies
- Avoid patterns behind the code — no textured backgrounds, photos, or gradients behind the QR pattern
Material
- Cardstock: 300gsm+ with matte lamination. Survives light spills, lasts 2–3 months
- Waterproof vinyl stickers: Best durability. Survives cleaning, spills, and direct sunlight. Lasts 6–12 months
- Acrylic inserts: Standard 200gsm paper works since the acrylic protects it
What to Print on the Card
Don't print just a QR code with no context. Include:
- QR code (center, 3–5 cm)
- Brief instruction: "Scan for our menu" or "Point your camera here for the menu"
- Your logo (small, at the top)
- WiFi password (optional — saves customers from asking)
- Fallback: "Ask your server for a printed menu" — for customers who prefer physical menus
How to Set Up QR Code Menus on Your Tables
Create your digital menu
If you haven't already, sign up for a digital menu platform like Menujo. Add your menu items, photos, prices, and dietary tags. The platform auto-generates your QR code — download it as a high-resolution PNG or SVG file.
Design your table card
Use Canva (free) or any design tool to create a simple card: your logo at the top, the QR code in the center (at least 3×3 cm), the text "Scan for our menu" below, and optionally your WiFi password at the bottom. Keep the design clean — the QR code should be the focus.
Order prints
For table tents: order from a local print shop or online service (Vistaprint, MOO, local printer). Specify 300gsm+ cardstock with matte lamination. For stickers: order waterproof vinyl stickers. Plan for 1.5x your table count (extras for replacements). Budget: $25–$75 for 50 cards.
Place one at every table
Center the QR code on each table where it's visible without moving anything. For table tents, place near the edge closest to where customers sit. For stickers, center of the table or near the table number. Ensure the code isn't obscured by condiments, menus, or table décor.
Test on your own phone before opening
Walk through the restaurant and scan every QR code. Check: Does it scan quickly? Does the menu load in under 3 seconds? Is the code visible from a seated position? Test in both daylight and evening lighting conditions.
Brief your staff
Tell your servers: "We have a QR code menu on every table. If customers ask about it, show them how to scan — point phone camera, tap the notification." Staff should also know where the printed backup menus are for customers who prefer them.
Where you put the QR code on the table affects whether customers use it. Based on Menubly's QR display research and restaurant operator feedback:
Do
- Place at the customer's natural eye line — they should see it as they sit down, without looking for it
- Use both sides of a table tent — QR code on both sides ensures every seat has a clear view
- Add a brief instruction — "Scan with your camera" converts hesitant customers. Don't assume everyone knows how QR codes work
- Consider multiple placements — QR on the table, plus a mention in the host stand area ("Our menu is on your table — scan the QR code")
Don't
- Don't place flat on a dark table — dark QR code + dark table surface = invisible. Use a white card or stand
- Don't hide it behind the condiment caddy — if the ketchup bottle blocks the QR code, it doesn't exist
- Don't use glossy lamination in bright lighting — overhead lights create glare on glossy surfaces, blocking the phone camera. Use matte finish
- Don't print on receipts or napkins — low print quality and soft materials produce unreliable codes
We see these mistakes regularly. Each one reduces scan rates and sends customers back to asking for printed menus:
Mistake 1: Printing the QR Code Too Small
A QR code smaller than 2 cm is hard to scan from table distance (20–30 cm). When in doubt, go bigger. A 4–5 cm code scans instantly from any reasonable distance.
Mistake 2: Linking to a PDF
The QR code scans perfectly, but it opens a PDF that requires pinch-to-zoom. This is the #1 cause of QR menu complaints. Link to a mobile-optimized web menu, not a document. See our troubleshooting guide for QR code menus.
Mistake 3: Not Testing After Printing
Print quality varies. A batch of cards might have slightly blurred QR patterns that scan fine on one phone but fail on another. Always test 2–3 cards from each batch on multiple phones before distributing to all tables.
Mistake 4: Forgetting to Update After Menu Changes
If you use a digital menu platform, the QR code never needs reprinting — menu updates happen behind the same URL. But if you generated a static QR code to a specific PDF or Google Drive link, changing the file means the old QR is now useless. Use a platform that keeps the URL stable. For more on this, read our guide to dynamic vs static QR codes.
Mistake 5: No Printed Backup
Toast data shows 81% of diners still prefer physical menus when given the choice. Have 5–10 printed menus on hand for customers who ask. The QR code should be the default, but a backup should always be available.
Here's what the full setup costs for a 30-table restaurant:
| Item | Quantity | Cost |
|---|---|---|
| Digital menu platform | 1 account | $0 (free plan) |
| Table tent cards (laminated) | 45 (30 + 15 spares) | $25–$65 |
| Counter display | 1 | $2–$5 |
| Window sticker | 1 | $1–$3 |
| Total one-time cost | $28–$73 |
That's a one-time cost. Since the QR code links to a live web page, you never need to reprint when you change your menu. Compare that to $2,400–$5,000 per year for paper menus that need reprinting every 3–4 months.
Ready to get started? Create your free menu on Menujo and you'll have a QR code to print in 5 minutes.
Frequently Asked Questions
What size should a QR code be for a restaurant table?
Minimum 2×2 cm, but 3×5 cm is ideal for table tents. The code should be scannable from 20–30 cm (the distance from a seated customer to the table center). Include a white quiet zone border at least 4 modules wide. When in doubt, go bigger — a larger code scans faster and more reliably.
What material should I print QR codes on?
For table tents: 300gsm+ cardstock with matte lamination (lasts 2–3 months, survives light spills). For table stickers: waterproof vinyl (lasts 6–12 months, survives cleaning and direct moisture). For acrylic stands: regular 200gsm paper works since the acrylic protects it.
How much does it cost to put QR codes on restaurant tables?
$28–$73 for a 30-table restaurant. This includes 45 laminated table tent cards, a counter display, and a window sticker. The digital menu itself is free on platforms like Menujo. Since the QR code links to a live web page, this is a one-time cost — no reprinting needed when menus change.
Should I use a table tent, sticker, or acrylic stand?
Table tents are the cheapest and most common — good for casual dining. Stickers are best for cafés and bars (can't be knocked over, survives spills). Acrylic stands look most professional for upscale restaurants. Choose based on your restaurant's style and how rough tables get during service.
What should I print besides the QR code?
Include: (1) your logo, (2) a brief instruction like Scan for our menu, (3) optionally your WiFi password, and (4) a fallback message like Ask your server for a printed menu. Don't print just a bare QR code with no context — some customers need a prompt.
Do I need to reprint QR codes when I change the menu?
No. If your QR code links to a digital menu platform URL, the code stays the same forever. When you update prices, add items, or change photos on the platform, the changes appear instantly at the same URL. You print the QR code once — it's a one-time cost.
Can customers with older phones scan QR codes?
QR scanning is built into every iPhone (iOS 11+, 2017) and Android (9+, 2018). Over 95% of smartphones in active use can scan QR codes natively by pointing the camera. For the small percentage with older devices, having printed backup menus available solves the issue.
How do I design a QR code table card?
Use Canva (free) or any design tool. Place your logo at the top, the QR code in the center (at least 3×3 cm on white background), Scan for our menu below, and optionally your WiFi password at the bottom. Keep it clean and simple. Dark code on white background with matte finish for best scannability.
Can I combine the QR code with my table number?
Yes — and it's a great way to reduce table clutter. Put the table number on one side and the QR code on the other, or include both on the same face. This replaces two items with one and ensures every table has a visible QR code.
How do I test QR codes before placing them on tables?
Print 2–3 test cards first. Scan each one on at least 2 different phones (iPhone and Android). Test in your actual restaurant lighting — both daytime and evening. Check from a seated position at normal arm's length. If any code fails to scan on any device, adjust size, contrast, or material before printing the full batch.